.JPG)





Nick speaking,
OK, so in the first post I went over making the foundations for this piece of terrain, and now it's time to look at the power generators themselves...

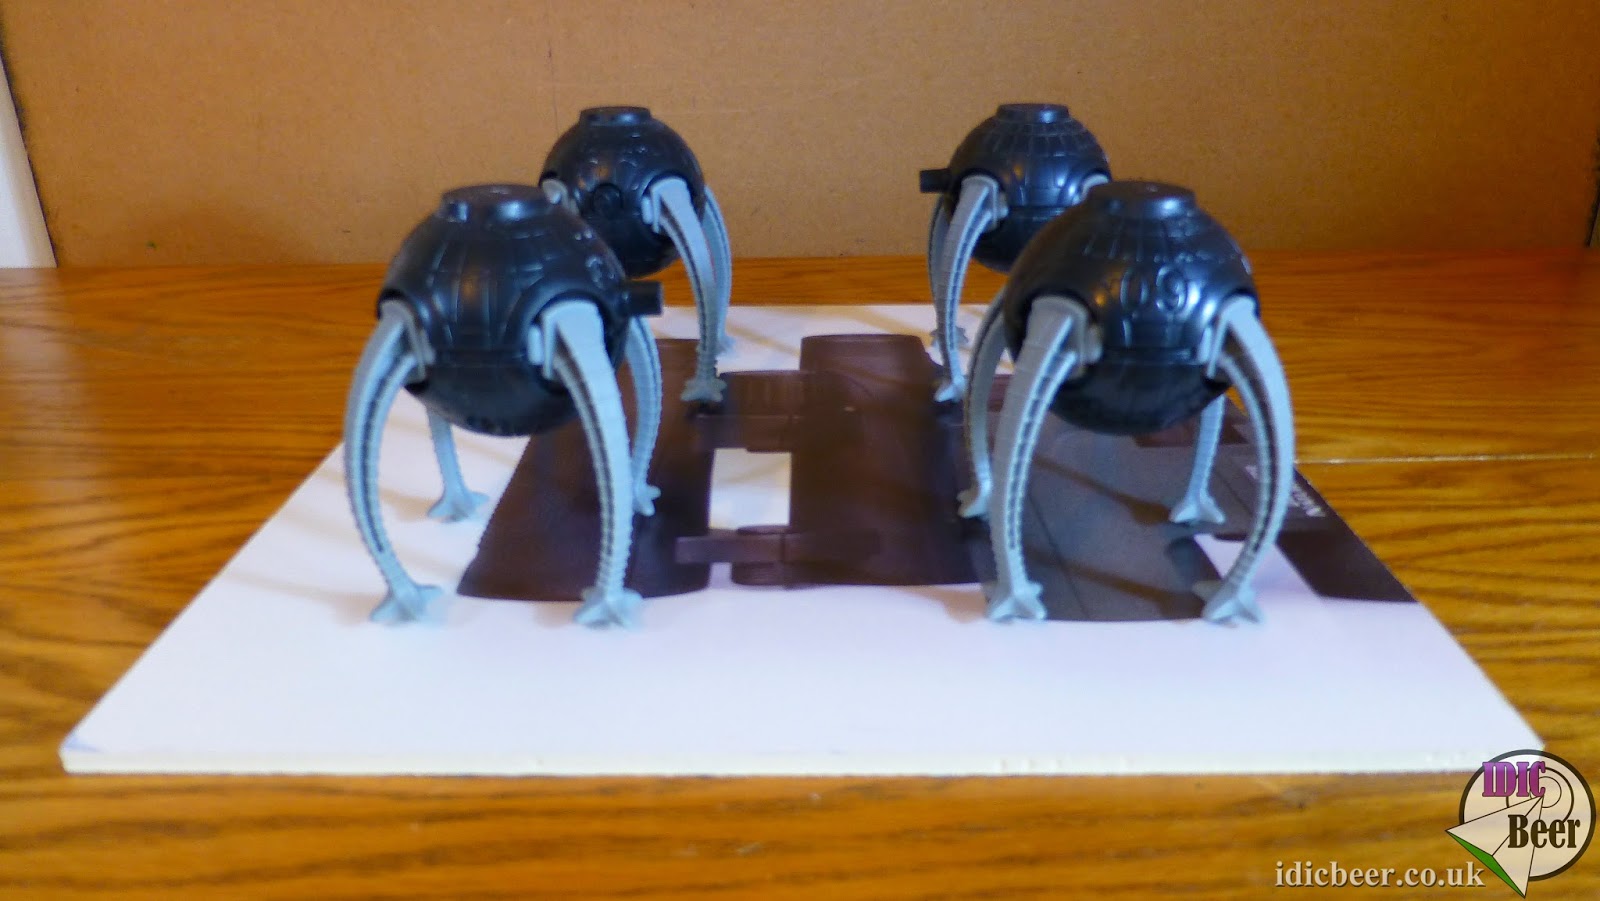
My generators are made from four Incredible toys that I got from McDonald's about ten years ago! I know that you are not going to be able to get hold of these yourself anymore, so I will let you come up with your own design to stand in for what I am using. Hopefully this post will give you some inspiration to do that...

First it was back to my Laser Cut Card 'off cuts' tub and my Bitz box. Using some Glyph and more Monolith biz, I managed to come up with this design, nothing special as it stands, but once they are painted up they look good enough...


Right, back to the building, and now I am thinking that I want to make this piece of terrain a little more 'interchangeable' with the option to remove the power generators as and when I want to. This was easily done with a few magnets on the feet and on the base of the foam board...


I will take a look at all the finishing touches in the last part of this mini series...
Read more ...
OK, so in the first post I went over making the foundations for this piece of terrain, and now it's time to look at the power generators themselves...
My generators are made from four Incredible toys that I got from McDonald's about ten years ago! I know that you are not going to be able to get hold of these yourself anymore, so I will let you come up with your own design to stand in for what I am using. Hopefully this post will give you some inspiration to do that...
First it was back to my Laser Cut Card 'off cuts' tub and my Bitz box. Using some Glyph and more Monolith biz, I managed to come up with this design, nothing special as it stands, but once they are painted up they look good enough...
Right, back to the building, and now I am thinking that I want to make this piece of terrain a little more 'interchangeable' with the option to remove the power generators as and when I want to. This was easily done with a few magnets on the feet and on the base of the foam board...
I will take a look at all the finishing touches in the last part of this mini series...