


.JPG)


So after a good day 1, I was sitting on 2 wins 1 loss and am sitting mid 20’s which is pretty good for me at least. I would be looking for 1 more win from today to see me into a good position and would leave me feeling pretty satisfied with 3 wins, 1 defeat with 1 game to play, so onwards to game 4!
RICHARD ARNOLD
HQ1 Fateweaver (333) total [ 333]
HQ2 Herald of Tzench (50) icon (25)
Chariot (15) total [90]
Elite 1 : 6 Fiends of Slannesh (180)
Un-holy might (10) total [190]
Elite 2 : 6 Fiends of Slannesh (180)
Un-holy might (10) total [190]
Troop 1 : 5 Plaguebearers [75]
Troop 1 : 5 Plaguebearers [75]
Troop 2 : 5 Plaguebearers [75]
Troop 3 : 5 Plaguebearers [75]
Troop 4 : 7 Horros (119) Changeling (5)
total [124]
Fast Attack 1 : 8 Screamers [200]
Fast Attack 2 : 8 Screamers [200]
Fast Attack 3 : 8 Screamers [200]
Emplacment 1 : Bastion (75) comms relay
(20) [95]
Total = 1847
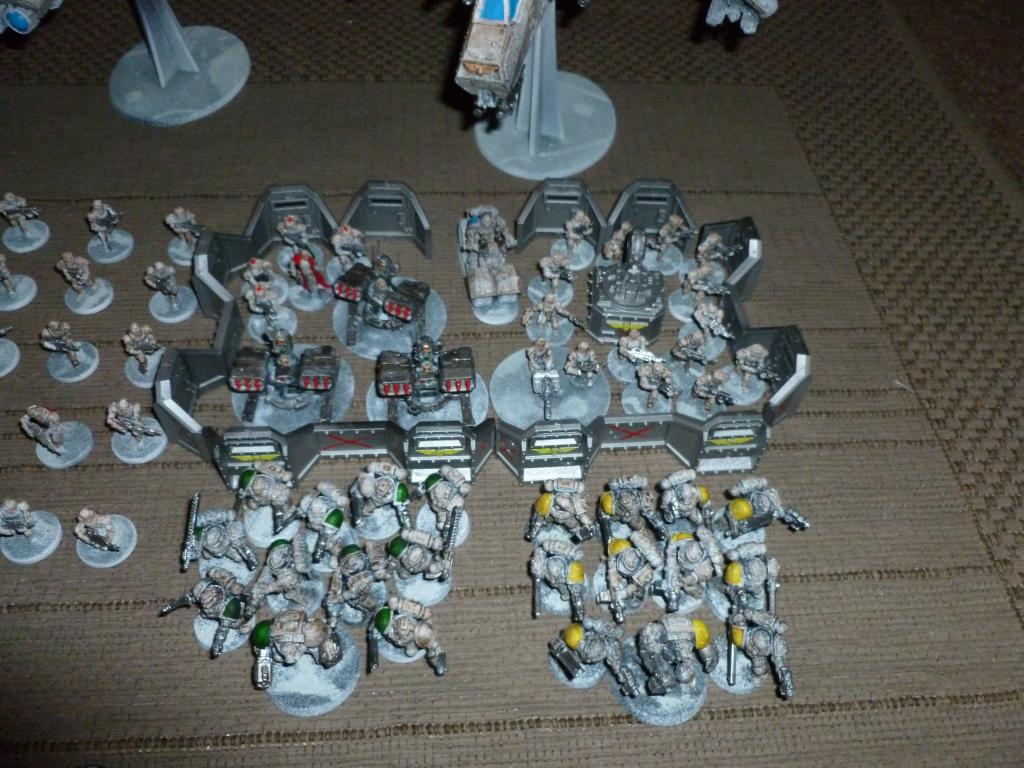
Richards army was not the typical Daemon build at the tournament, there were no flamers which pleased me greatly, but there were still plenty of Screamers and the Fiends would do a number on the Blob if I ventured out of cover. The plan was to castle on an objective or 2 and then shoot his troops (only 4 small squads), meaning as long as I’m not tabled I will get points out the game!
Deployment: In a haze of lack of sleep I took first turn and would set up in a corner, hunkering down waiting for the Daemons to drop. I deployed just the blob, both guard command squads and the Veteran squad went in the vendettas and both the Grey Hunter packs went in reserve waiting for the Daemons to drop so I could react to them.
Turn 1
Nothing happens for me as I’m sat pretty well behind my Aegis.
Richard gets his preferred wave which is massively stacked, 3 Screamers, Fateweaver and both Fiend squads come down. The FW lands towards my right and scatters way back to the centre of the table, which is ideal, then all the Screamers land basically in a line, dropping slightly to the left of FW and in a line towards my board edge, the Fiends then land to the right of FW opposite the Blob, I then intercept the FW and cause a wound which is passed on a 10! Close but no cigar! Everything turbo boosts/runs into range of FW.
Turn 2
I get both Grey Hunter packs on and they move into Rapid Fire range of 1 squad of Screamers, 2 Vendettas also come towards the left flank, the Vendettas open up and take another wound off FW between them, the test is passed. The Grey Hunters fire into the Screamers and kill 1 between both packs... the blob then fires into the Fiends and kill 2, reducing another by a wound.
Richards turn and 1 plague barer squad arrives, which lands towards the back of the table, FW moves towards a Vendetta on the left flank, the Screamers and Fiends all move towards the Grey Hunters, 1 squad of Grey Hunters are then eradicated by turbo boosts Slash attacks by the Screamers.
Turn 3
I get the Bike on and Vendetta, the bike moves and turbo boosts up the left flank, the 3rd Vendetta comes on from the right flank, the 2 Vendettas move to target the Plague Bearer squad that landed, the blob fires into the weakened Fiend unit and reduce it to 2 models. The Vendettas then all open up on the Plague Bearer squad and Richard rolls well as they are left with 1 bearer left.
Richard only gets 1 more unit of Plague Bearer squad which lands on the left flank way towards the left flank, the Screamers don’t really move then take out the other Grey Hunter squad in combat. The FW shoots down a Vendetta with it’s bolt shot, the Platoon Command dies horribly as a result.
Turn 4
The bike moves down the left flank and I forget to boost it, the Vendetta on the right moves to target the plague Bearer on its own and doesn’t wound it.. so the Hyperios Missiles are needed and they kill it off, the Vendetta on the left flank moves off the table.
Richards turn 4 is over pretty quick, 1 squad of Screamers moves over to take the bike out, but Richard forgets to charge him, the Plague Bearers all make their moves for the objectives which they all achieve, with some good moving through cover rolls, the FW bolts the only Vendetta on the table and it survives.
Turn 5
The Vendetta in reserve moves on, the other Vendetta moves and they both shoot into the Plague Bearers in the open on the left flank, but can only kill 3, the Bike then kills another Plague Bearer, then charges in, wounds with Hammer of Wrath, but Richard saves, then the Bike wounds again with his attacks, but that is also saved!!
Richard then moves over the with the Screamers that didn’t charge last turn and they finish off the Biker, while consolidating doesn’t get the lone Plague Bearer into objective range, Richard then consolidates his position on the 2 objectives he does have and also gets Line breaker giving him 2 Secondary VP's and 1 objective more than me. Then Fateweaver guns down his second Vendetta of the game with a bolt into the rear armour.
If the game ends now It will be a 15/5 loss, so I still get decent points out the game after taking a battering, but if the game does continue I have a Vendetta to take out a single Plague Bearer so I’m confident either way. But the game goes on!
Turn 6
The Vendetta drops out of zooming mode and into skimmer mode, then fires 3 Lascannons and 2 Heavy Bolters into the lone Plague Bearer, and misses with everything first time round, then hits with 2 lascannons on the twin linked roll, needing 2’s I get 1 through, Rich then fails his save... then passed FNP and the Plague Bearer survives...
The lone Pleaguebarer moves onto the objective to give Rich 3 more tournament points as I cannot reach him we call it quits here.
Overall
I didn’t play well in this game at all, again, showing some really basic errors even with objective placement... which I really beat myself up about. Basically my plan order all along was for the Blob to camp on an objective behind the ADL, which the Daemos couldn’t cross without being shot to bits through Overwatch, I would also be striking first and it’s a massive deterrent, but for some reason I only placed one objective in the corner... totally idiotic, but there we go. As Richard only had 4 troops choices I was banking on Richard rolling the wrong wave, which didn’t happen, if he had I would of hoped to have had 1 or 2 turns of shooting at them before the nasty stuff arrived, but it didn’t happen and the Vendettas again fluffed their chances or Richard rolled well above average.
Richard totally deserved his win though, he took me apart but I still got 2pts out the game... 18-2 Defeat and back down the tables I tumble!
Game 5 coming up next...


Oh dear, it must be a challenge remembering all you need to do in the heat of the moment, I hope you recover in the last game
ReplyDeleteJust so you know, the old Fateweaver is LD9... so on a 10, he should have disappeared!!!
ReplyDeleteAh, thats a shame, although the result would not really of changed, I would of killed more, but I was waaay too defensive and afraid of those Screamers.
ReplyDelete